OTA Update Your ESP32 via BLE Without External Libraries - Part 1
Over-the-air (OTA) update capability is undeniably a must-have feature for any modern IoT product. The benefits are limitless: You can improve customer satisfaction with your products by providing valuable software improvements and bug fixes after shipment. An already great product which is getting better over time is an exceptional customer experience. And most importantly, from an economic perspective, an OTA can even save you from costly recalls, if there are critical bugs in your software.
In this article series, I will show you how to implement OTA updates via Bluetooth Low Energy (BLE) for the ESP32 without external libraries. We will use the NimBLE stack provided by the ESP-IDF for implementing the OTA code. The code is not compatible with the Arduino framework, but the concept is transferable. You can find the complete source code on github and use it as a template for your own projects.
The first part of the tutorial series covers the project setup and the basics of BLE. We will learn how the firmware is stored in the memory of the ESP32 and how we can prepare the storage for the OTA process. Then will review the fundamentals of BLE: How devices connect and how data is exchanged.
Project Setup
If you haven’t setup a project yet, I highly recommend you to read the getting started guide first. Once you’ve got the hello world or your own base project running, we can begin to work on the BLE functionality.
First, we need to configure the SDK: You can do this with the helper program menuconfig, or alternatively by creating a file called sdkconfig.defaults in the root folder of your project and pasting the following content:
# OTA
CONFIG_ESPTOOLPY_FLASHSIZE_4MB=y
CONFIG_PARTITION_TABLE_TWO_OTA=y
CONFIG_BOOTLOADER_APP_ROLLBACK_ENABLE=y

# BLE
CONFIG_BT_ENABLED=y
CONFIG_BTDM_CTRL_MODE_BLE_ONLY=y
CONFIG_BTDM_CTRL_MODE_BR_EDR_ONLY=n
CONFIG_BTDM_CTRL_MODE_BTDM=n
CONFIG_BT_BLUEDROID_ENABLED=n
CONFIG_BT_NIMBLE_ENABLED=y
You may need to remove the build folder and the old sdkconfig file first and then build your project for the changes to take effect. This will setup two things: The partition table and the Bluetooth stack.
Partition Table
The partition table defines how the flash storage of the ESP32 is divided up. In the default configuration there are 3 partitions: nvs, phy_init, and factory.
The nvs partition is used for a simple key-value storage for user data. You can use the non-volatile storage library to save your own data. Many external libraries (including NimBLE) use it for storing data too, so do not forget to include it even if you don’t use it yourself.
The phy_init partition contains initilalizing data for the radio hardware (wifi and bluetooth). Don’t worry, there is no need for you to touch this partition, in fact you probably shouldn’t.
The largest partition is called factory and it contains the user program. When booting up an ESP32 the bootloader will run the app located here.
What would happen now if we update our application while running from the factory partition? Well, overwriting the code which is currently running does not seem like a viable approach. It is quite figuratively like cutting the branch you are standing on. To tackle this problem, we will use a partition table that looks like this:

Instead of having a single app partition, we have 3 now: factory, ota_0, and ota_1. When we first flash our app onto the ESP32, it will be flashed to factory. While running our app from factory, we will write the new app received via BLE to the ota_0 partition. Once the update is completed and verified, we will tell the bootloader to run the app from ota_0 in the next reboot.
The information which partition the booloader should select is stored in otadata. All entries are written twice, which prevents inconsistencies in case of a power failure.
Note here, that when you start an update while running from ota_0 it will write the received code to ota_1. If you start the update while running from ota_1 it will write the received code to ota_0. The app in the factory partition will always stay the same, the factory partition is never overwritten durring an OTA. If there is a problem with the new app you can always roll back to a previous version or even the factory app.
NimBLE
In this tutorial we will use the NimBLE Bluetooth stack. NimBLE is known for using less flash space and RAM compared to the Bluedroid stack. The downside is that you can only use BLE, Bluetooth Classis is not supported. If you are only using BLE in your project, NimBLE is the stack recommended by Espressif.
Bluetooth Low Energy Basics
Before we dive into the OTA process we will first review the basics of Bluetooth Low Energy (BLE). BLE has been around for quite a while now and it is integrated with most smartphones on the market today.
In a nutshell: BLE is a wireless technology that allows devices to exchange small amounts of data with low power usage. There are devices on the market that can run for months on a single coin cell while periodically sending data via BLE. In the next paragraphs, we will discuss how BLE enables devices to discover each other, how they advertise what kind of services (data) they provide, and how the data exchange between them works.
Generic Access Profile
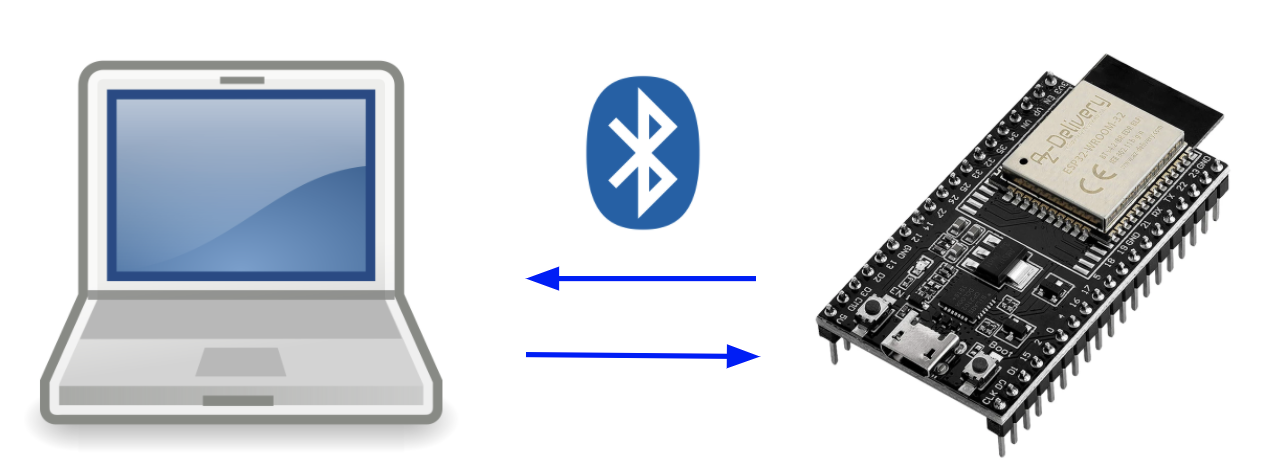
The Generic Access Profile (GAP) is responsible for advertising a device’s services and managing connections between devices. There are two roles in GAP: Peripheral and central. In most cases the peripheral is the less powerful device, typically, a microcontroller based device running on battery. The central device connects to the peripheral and has typically more processing power (e.g., a PC or a smartphone). In our case, the ESP32 will be the peripheral and your PC will be the central device.
A peripheral is periodically transmitting small packages (31 bytes of data) to let central devices know about its existence. This process is called advertising. Central devices scan for peripherals’ advertisements and then connect with them to exchange data. During this connection process, the two devices can negotiate the maximum amount of data to be transferred per BLE package, called the maximum transmission unit (MTU). The size of the MTU depends not only on the peripheral but also on the central. Some BLE stacks allow requesting arbitrary MTU sizes, but many have a predefined MTU that you cannot change. I am using a MacBook Pro 2019 with an ESP32 and receive an MTU of size 256 bytes.
Generic Attribute Profile
The Generic Attribute Profile (GATT) defines which services and data BLE devices offer. GATT comes into action once the advertisement and connection phase governed by GAP has finished and two devices connect. It uses the Attribute Protocol (ATT) to define how the data is structured using so-called services and characteristics.
GATT allows modelling the capabilities of a BLE device similar to an object in programming: Attributes are called characteristics. Multiple characteristics form a service. And finally, a device can have several services bundled into a profile (a device can have multiple profiles). The picture below visualises the profile we will implement for the OTA:

Two services are used: The Device Information service is required by the BLE specifications. It contains two mandatory characteristics: The Manufacturer Name and the Model Number of the device. The second service is the OTA Service. It has two characteristics:
- OTA Control: Used to initiate and control the update process. The PC can write specific values to this characteristic to control the OTA process.
- OTA Data: Used to transfer the firmware from the PC to the ESP32.
You can store services and characteristics programmatically within the peripheral in the form of a look-up table. In this table, you can specify your characteristics using UUIDs, access flags, and access callbacks. You can check out the list of pre-defined characteristics here and use a standardized 16bit UUID. Alternatively, you can also create your own 128bit UUID and use a custom characteristic. We will use pre-defined UUIDs for the Device Information Service and custom UUIDs for the OTA Service.
The peripheral device manages the attribute table, while the central device reads and writes these characteristics. In GATT terms a peripheral is called a server and a central device is called a client. When you specify the attribute table you can set flags that indicate what kind of operations the client can perform on the characteristics. In our scenario, we will need to use the flags read, write, and notify. The first two are quite self-explanatory. By flagging a characteristic with notify, the client can subscribe to it. If the characteristic changes the server will automatically send a notification to the client with the new value.
Summary
In this tutorial we set up the ESP32’s partition table for the OTA process and we reviewed the basics of BLE. Now we understand how the storage of the ESP32 is partitioned, how BLE devices connect, and how we can model data exchange via BLE.
In the next part we will look at the OTA process itself and how we can implement it on the ESP32.
Parts
- OTA Update Your ESP32 via BLE Without External Libraries - Part 1
- OTA Update Your ESP32 via BLE Without External Libraries - Part 2
- OTA Update Your ESP32 via BLE Without External Libraries - Part 3